Title here
Summary here
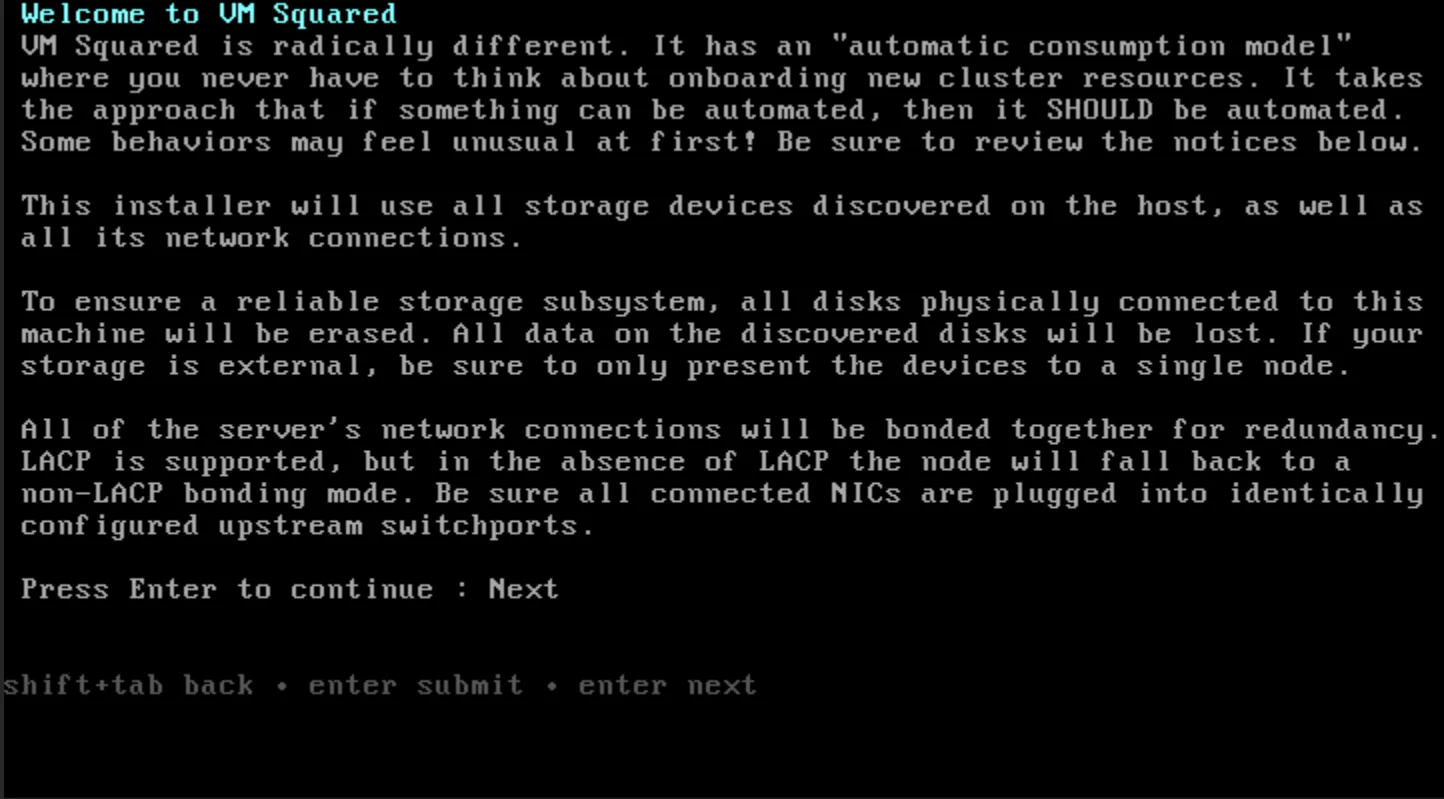
VM Squared is radically different. It has an “automatic consumption model” where you never have to think about onboarding new cluster resources. It takes the approach that IF something can be automated, then it SHOULD be automated. Some behaviors may feel unusual at first!
Be sure to review the notices below.
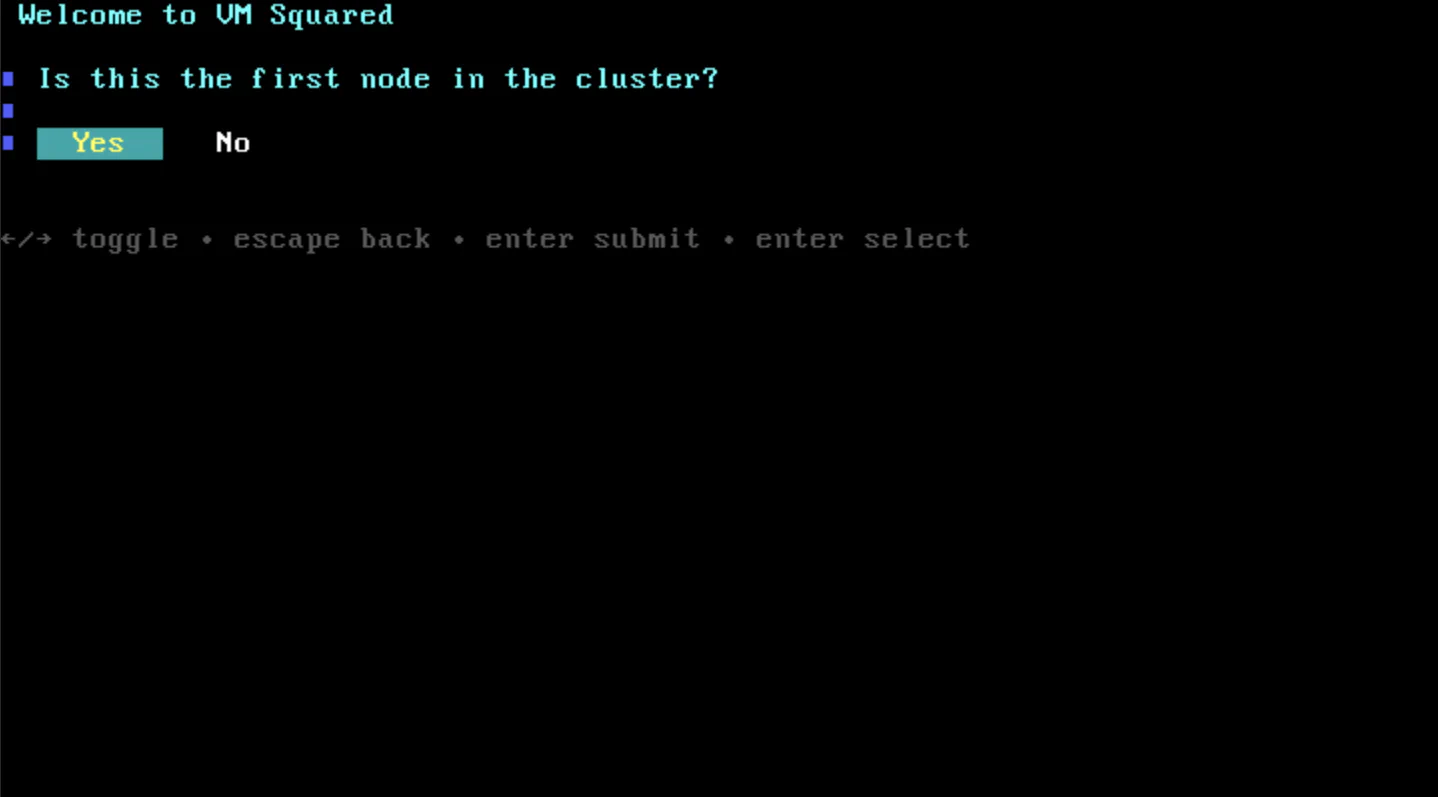
A single node cluster is for development or testing only. This configuration has no redundancy and is an unsupported workload for production.
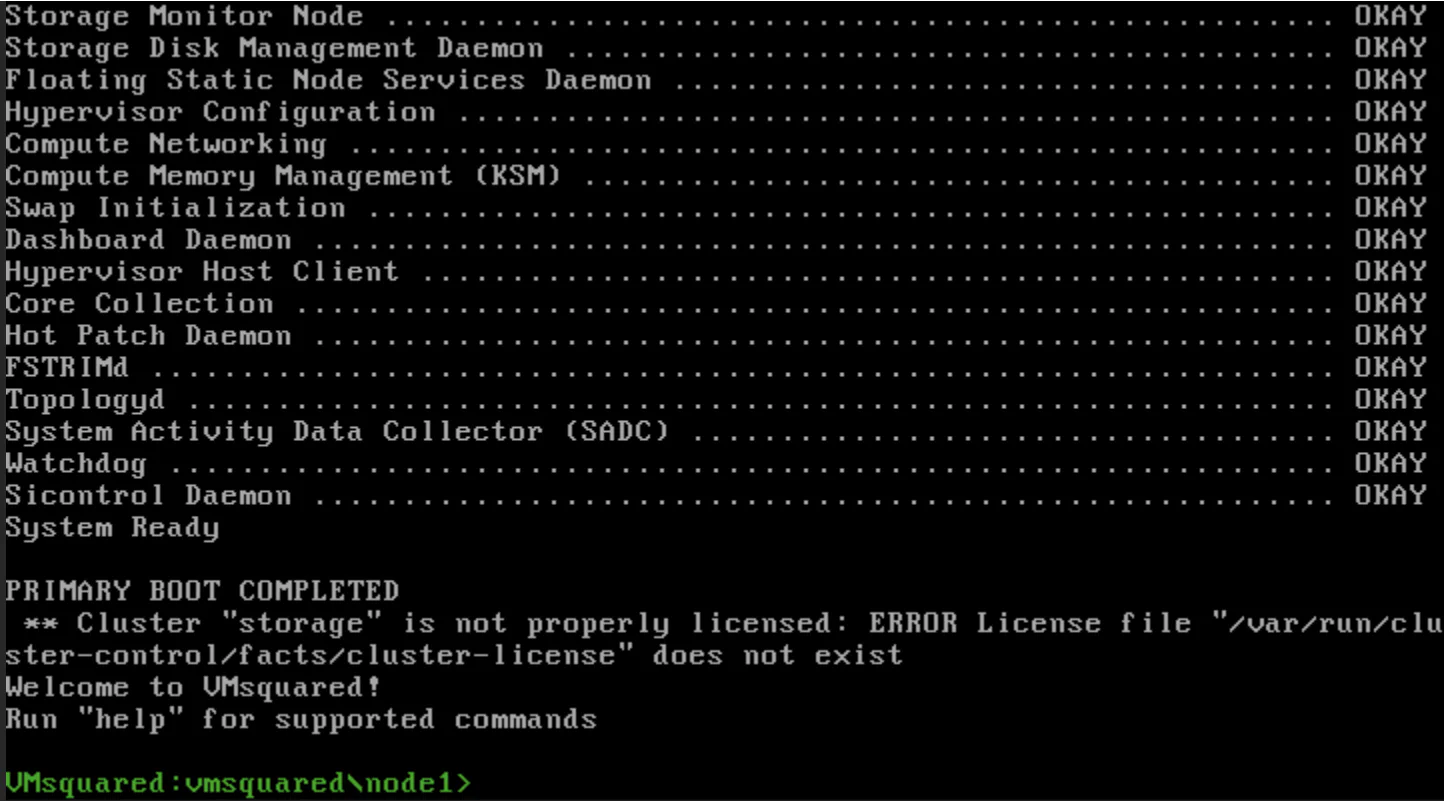
The Dashboard will reboot every few minutes unless a valid license is present. This is intended behavior.Please reach out to your SoftIron Team to renew your license – https://softiron.com/contact/.
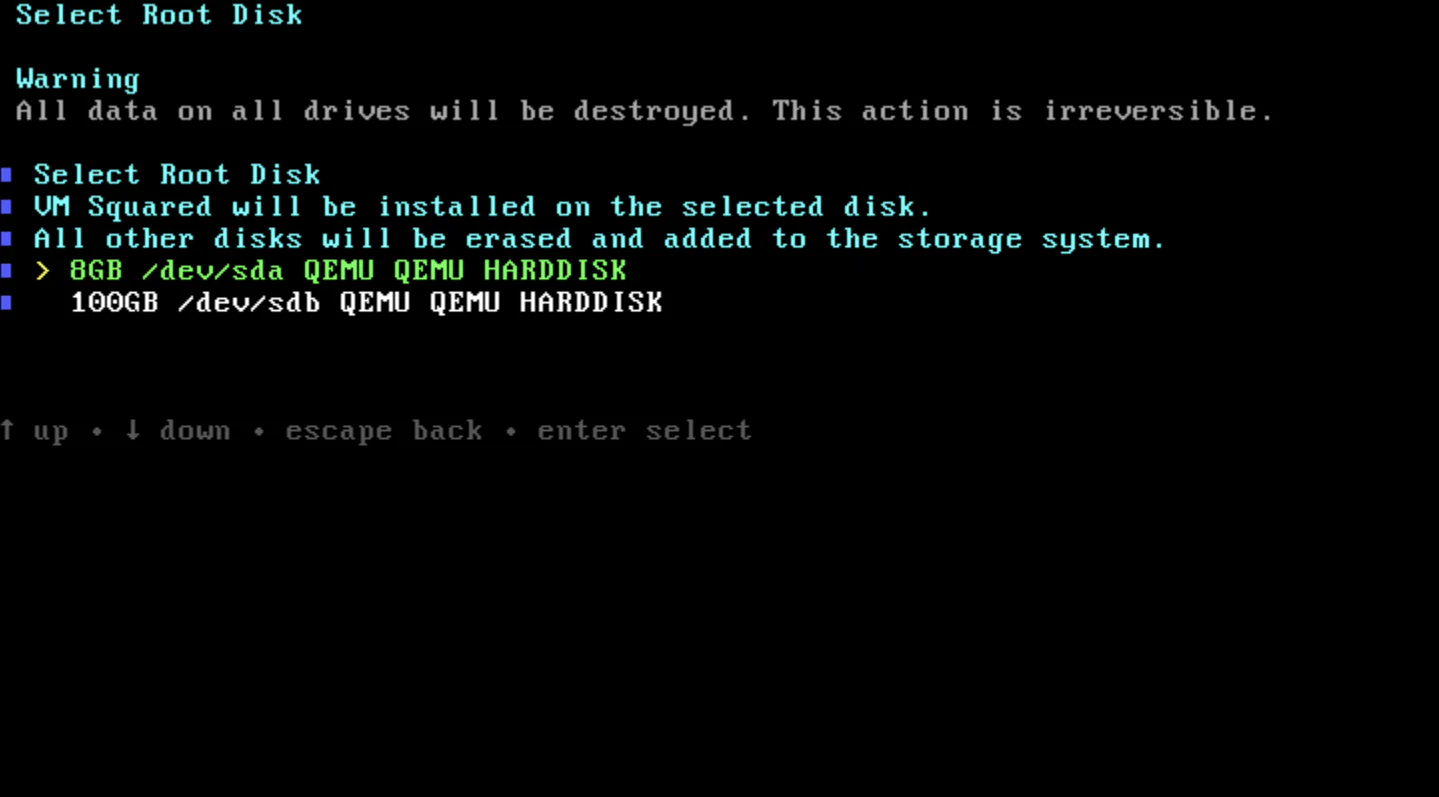
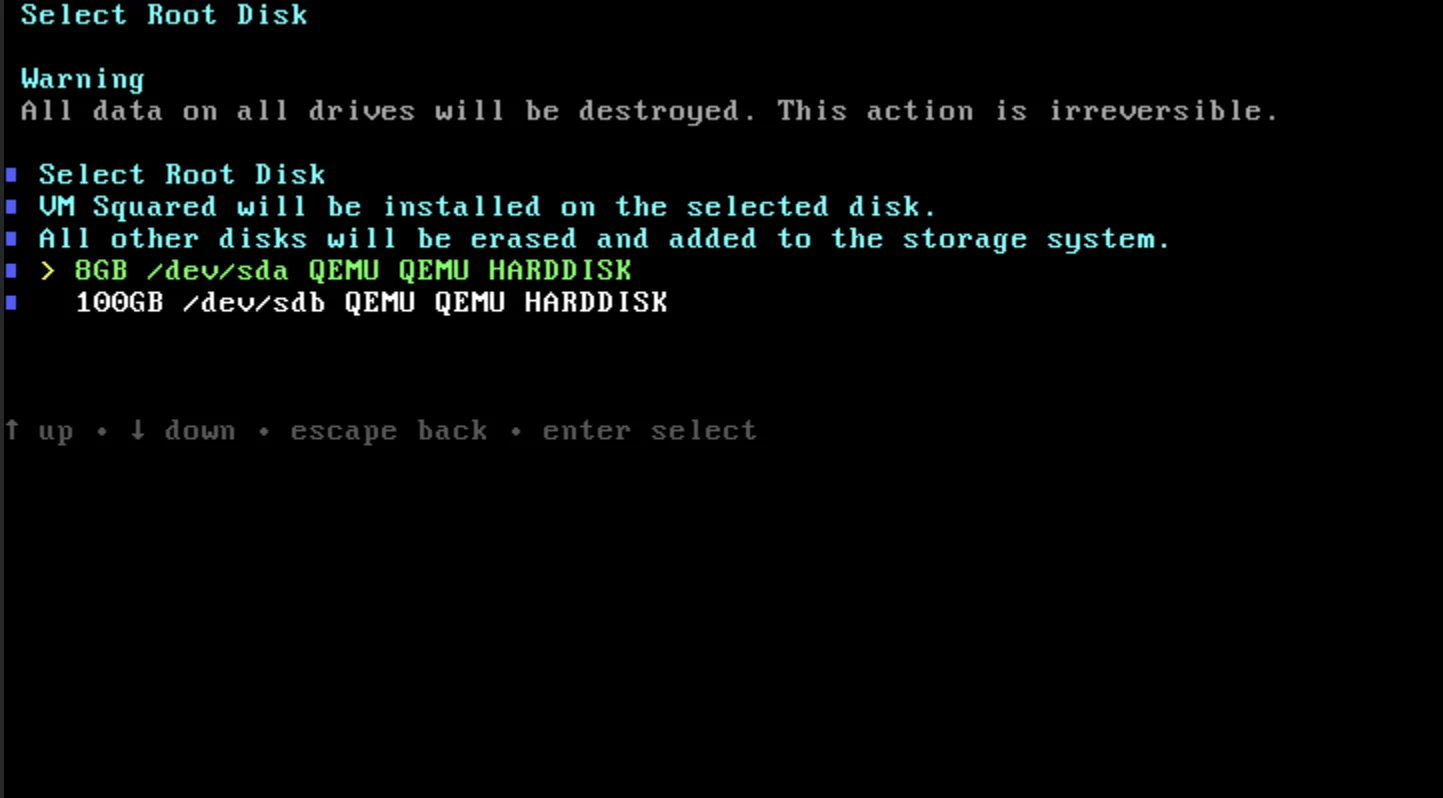
This installer will use all storage devices discovered on the host, as well as all its network connections.
Only connect disks or LUNs that will be used as VM Squared storage.
To ensure a reliable storage subsystem, all disks physically connected to this machine will be erased. All data on the discovered disks will be lost. If your storage is external, be sure to only present the devices to a single node.
Only install or activate NICs intended to be part of the VM Squared cluster.
All of the server’s network connections will be bonded together for redundancy. LACP is supported, but in the absence of LACP the node will fall back to a non-LACP bonding mode. Be sure all connected NICs are plugged into identically configured upstream switchports.
Review the requirements for a VM Squared cluster prior to installation.
Refer to troubleshooting for installation issues unrelated to meeting requirements.
Configuring a VM Squared cluster is performed in stages:
The VM Squared media will be accessed and installed either by UEFI or legacy boot loader.
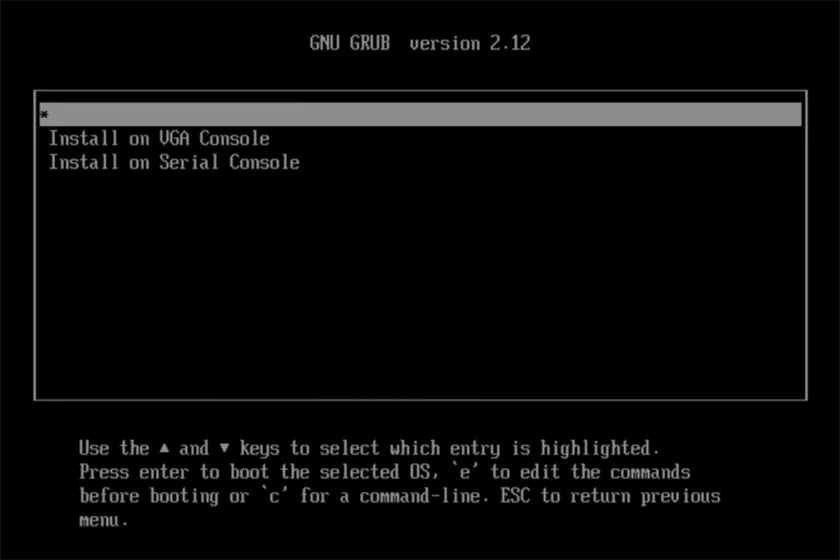
Or
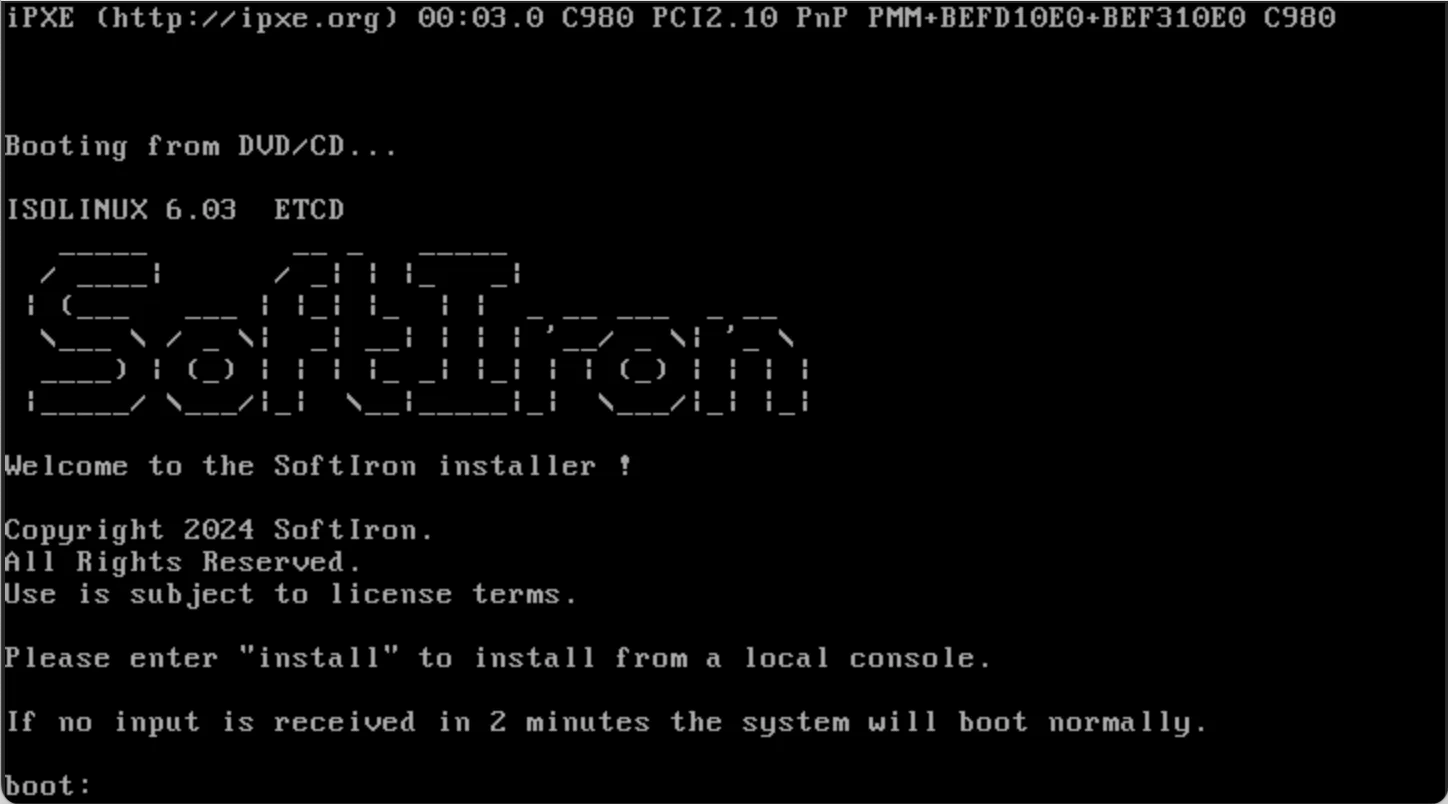
install to start the VGA console installer orinstall-serial to start the serial console installer.Boot the VM Squared media on the first node of the cluster.
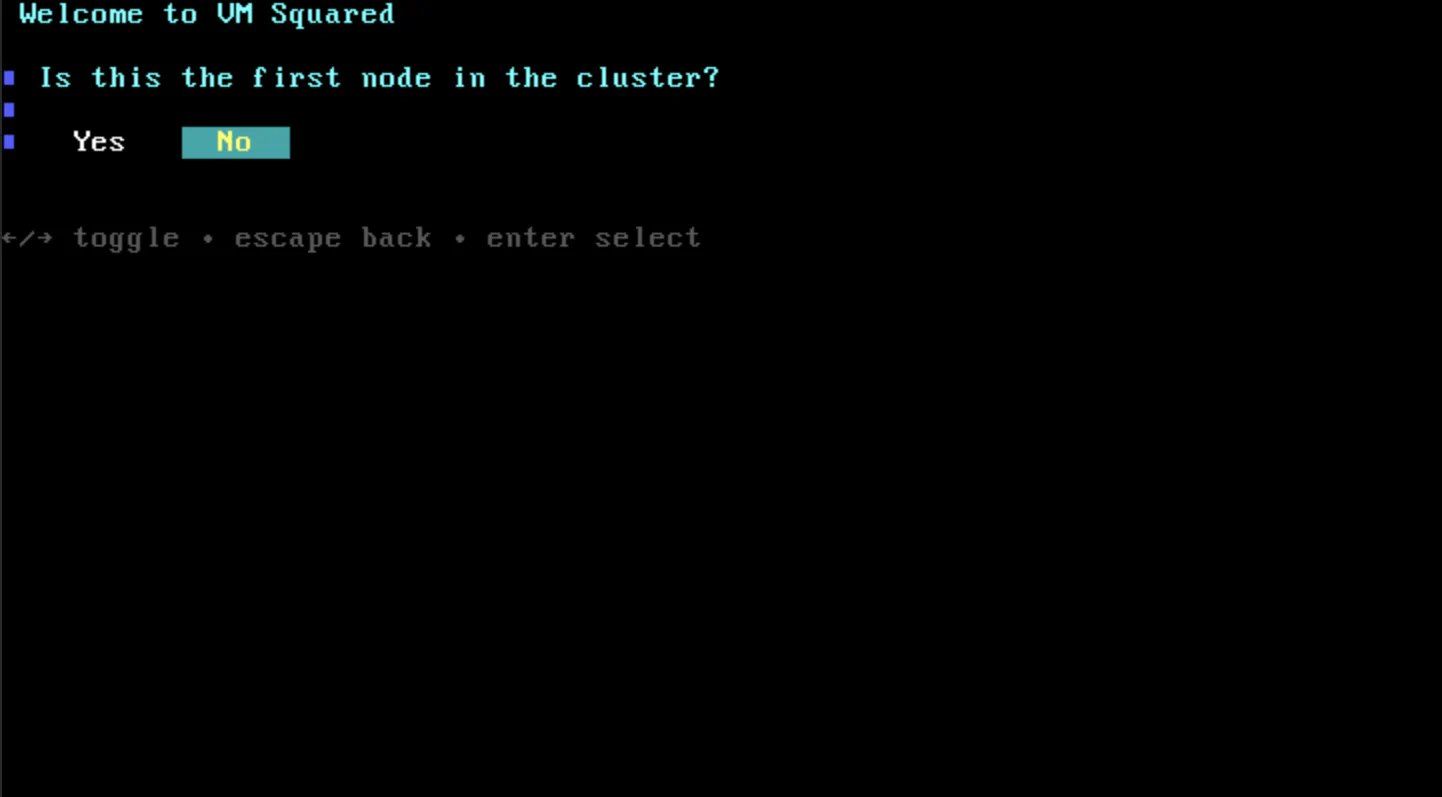
The installation will take a few minutes to initiate and progress to the welcome screen seen below.
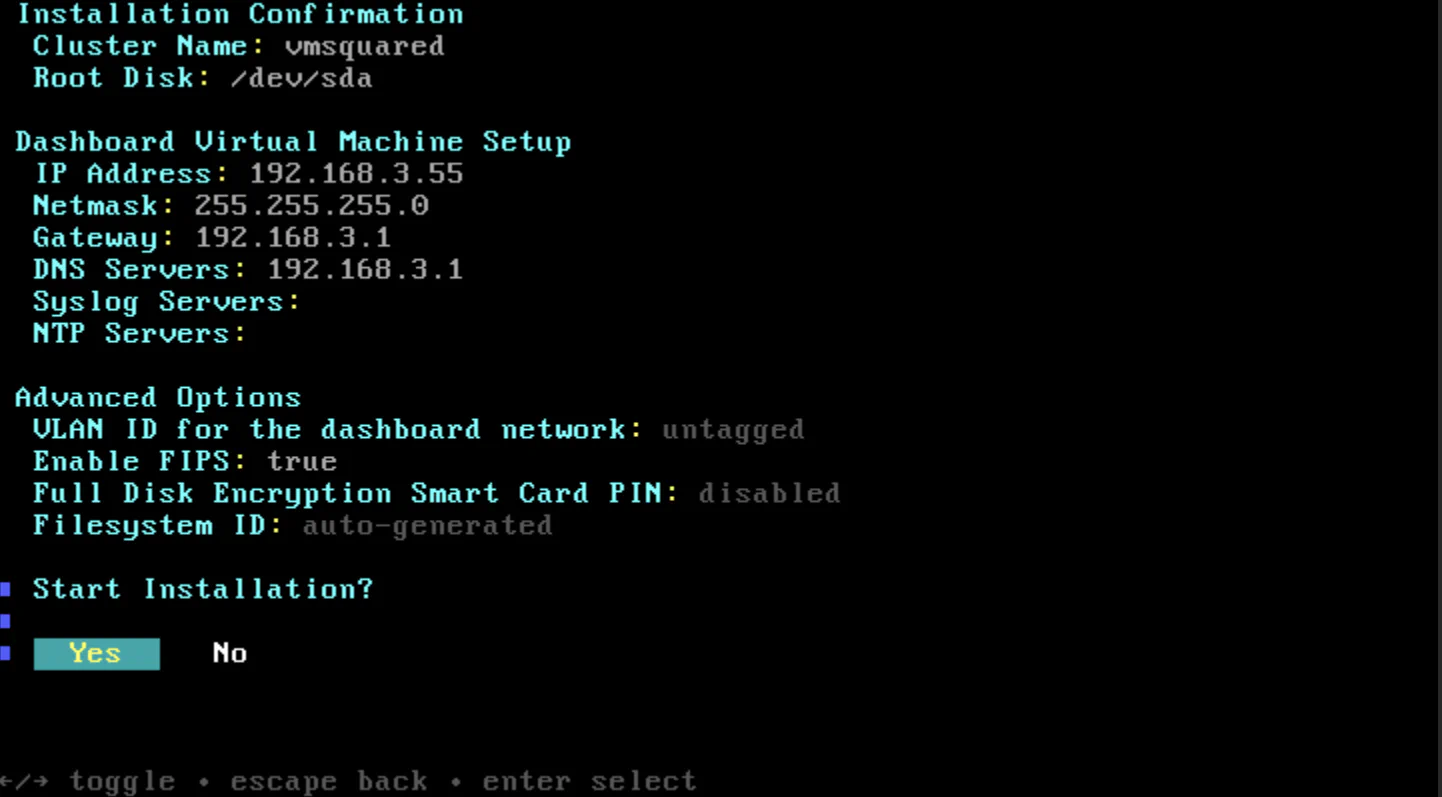
At this stage the installer will prompt for the cluster admin password. These credentials, together with the dashboard IP are needed to log into Glasshouse, the VM Squared management GUI.
Providing a password is optional. If no password is specified then VM Squared will automatically generate a random password which can be retrieved at a later stage via the command line interface (CLI)
Note: the cluster admin password and dashboard IP are required to update the license.

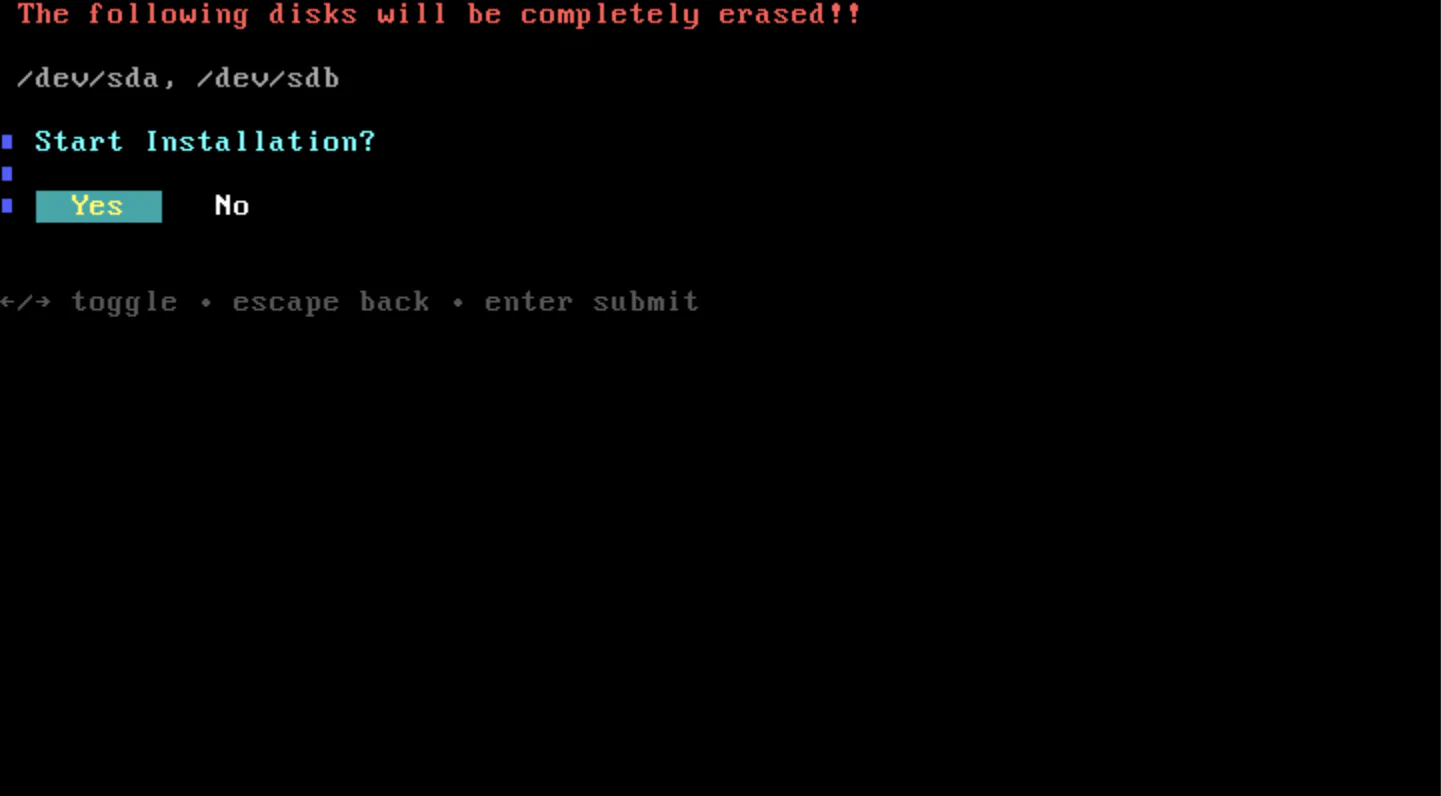
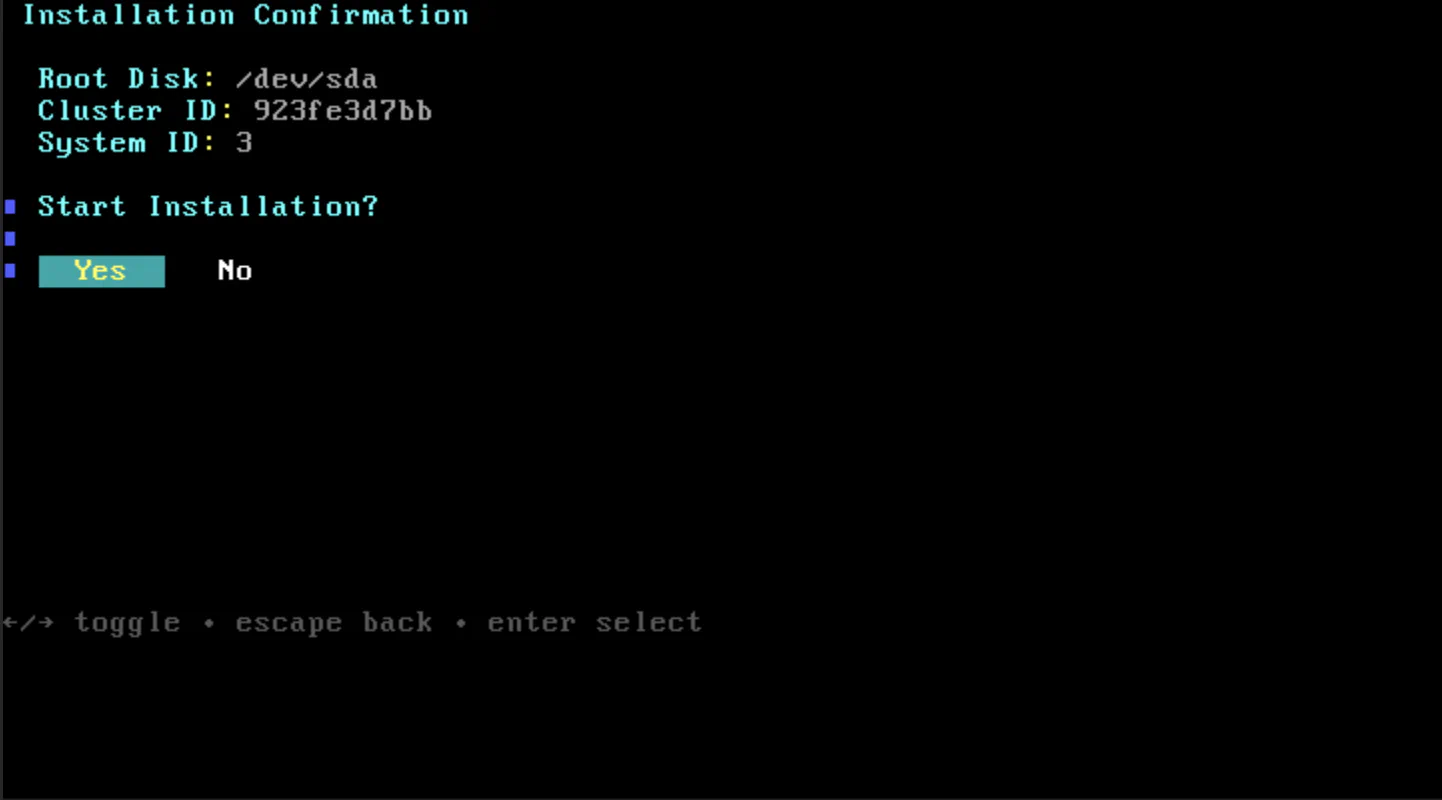
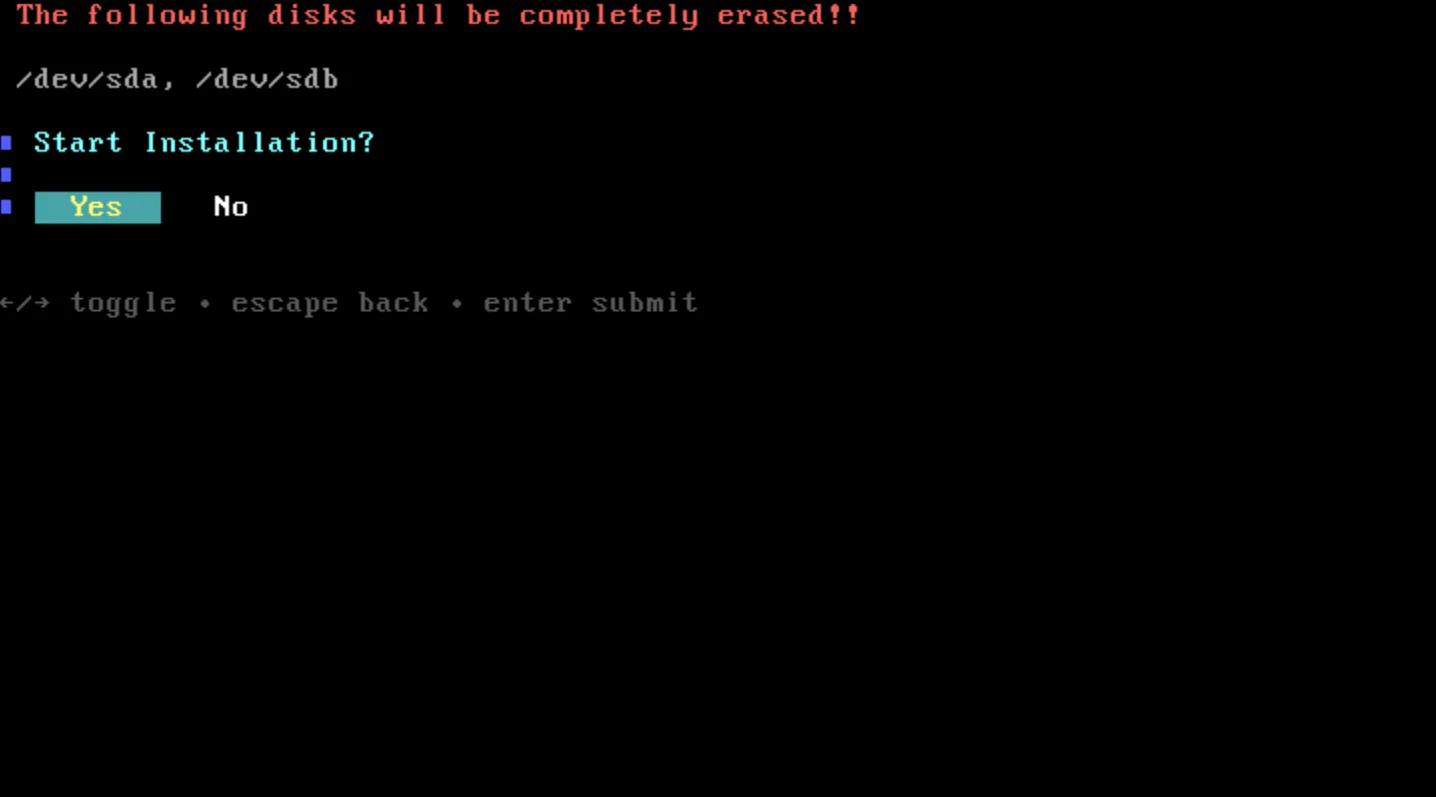
Warning
All the disks listed will be erased as part of the installation process. All data will be destroyed. This action is irreversible.
The installer will proceed with installing the software on the node and revert to the original boot screen seen at boot. At this point, power off the machine and remove the media.
Restart the machine and return to the connection console. The Primary Boot will initiate (this may take up to 15 minutes to complete) and then the node will then proceed to boot the dashboard.
vm list can be entered to verify the dashboard is running.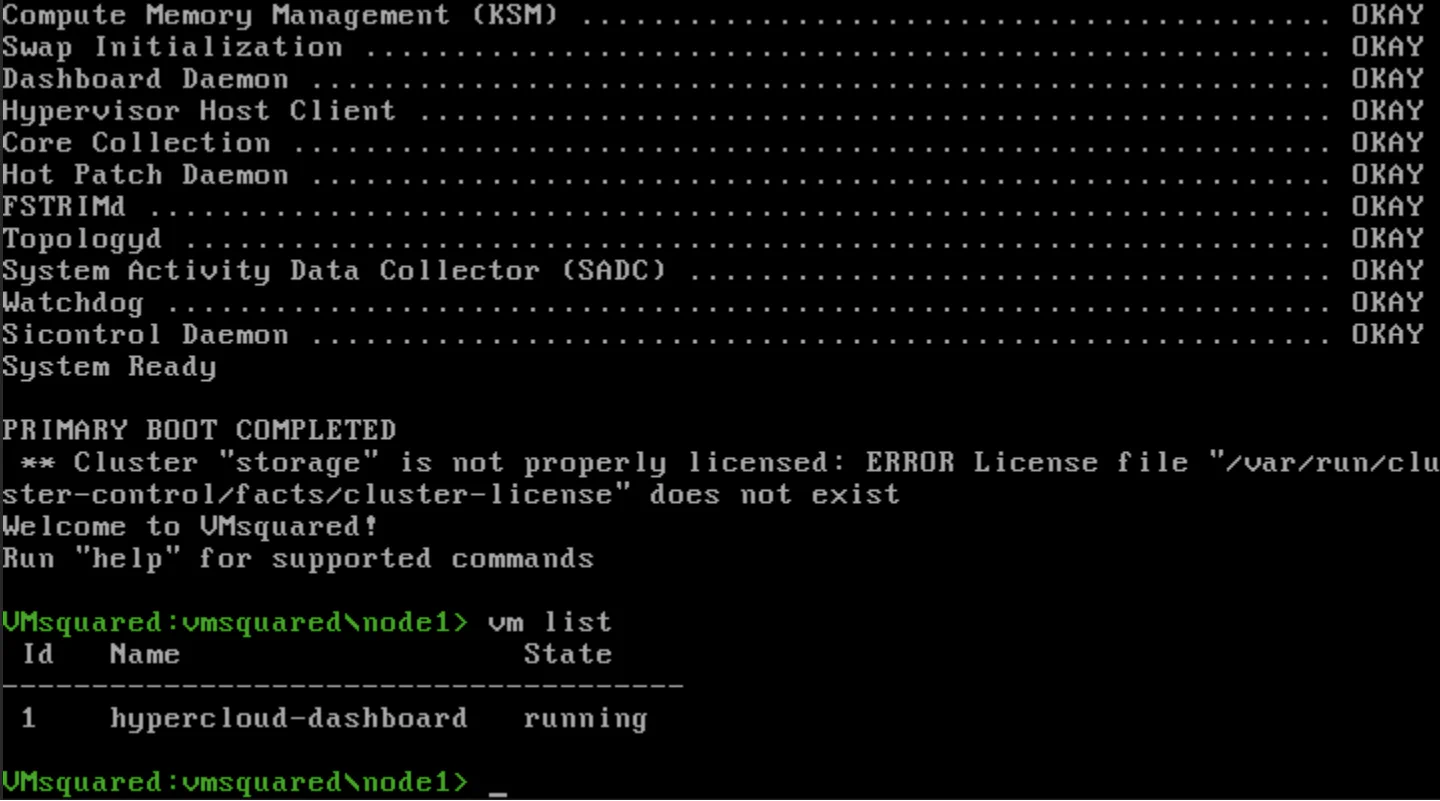
If the dashboard is present and fully booted, you can then login to the dashboard’s console with the command dashboard-console.
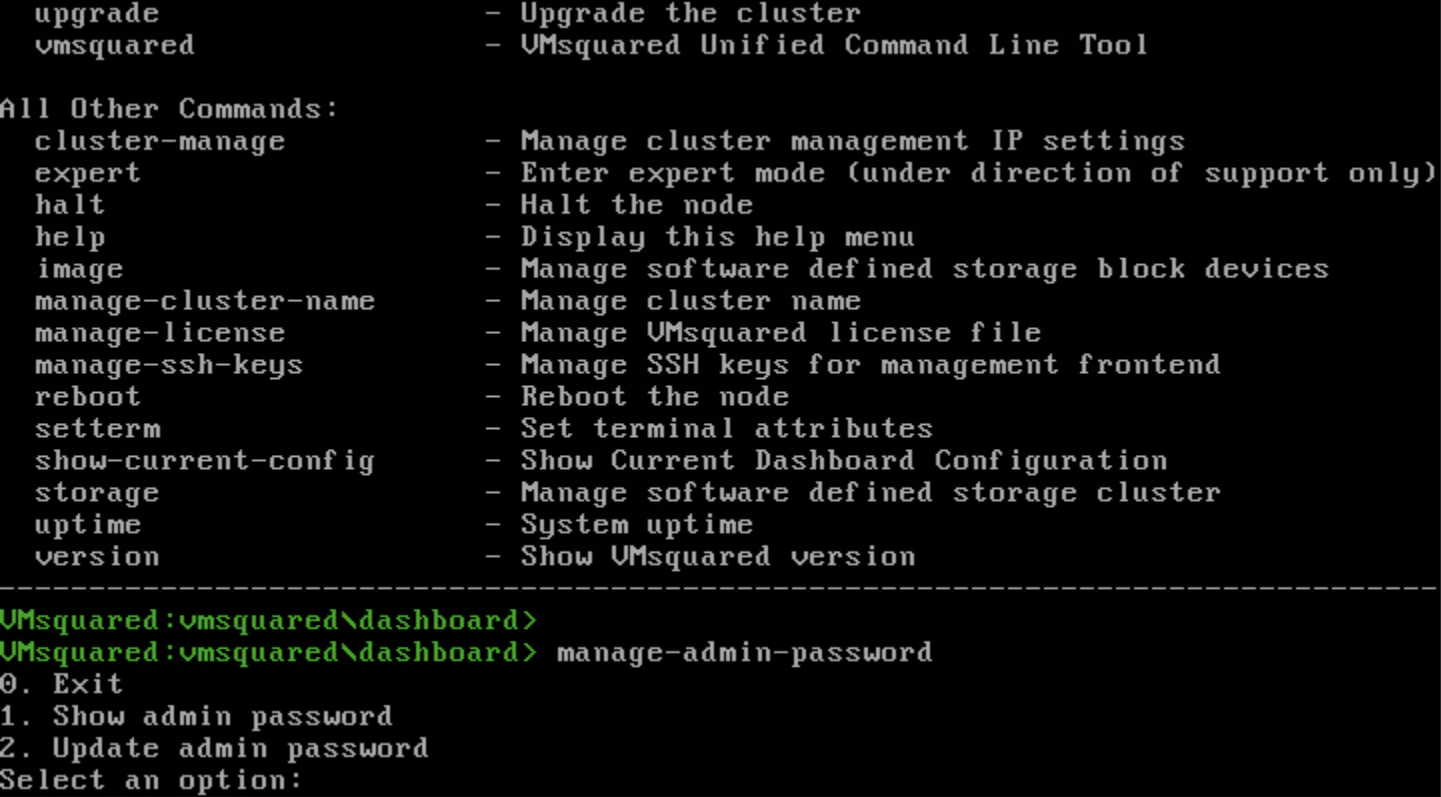
If the cluster admin password was not assigned in step 4 then VM Squared automatically generated a random password. It can be retrieved from the dashboard-console with the command manage-admin-password and selecting option 1.
After installing the first node the VM Squared license can be updated. This is done via the Cloud Management GUI. This is also a good opportunity to add authorized SSH keys to enable ssh onto the Dashboard Console.
The <dashboard IP> and cluster admin password specified during the dashboard configuration are required to access the Cloud Management GUI.
https://<dashboard IP>/cloudmanagement/admin and enter the cluster admin password.Update Cluster Configuration button to apply.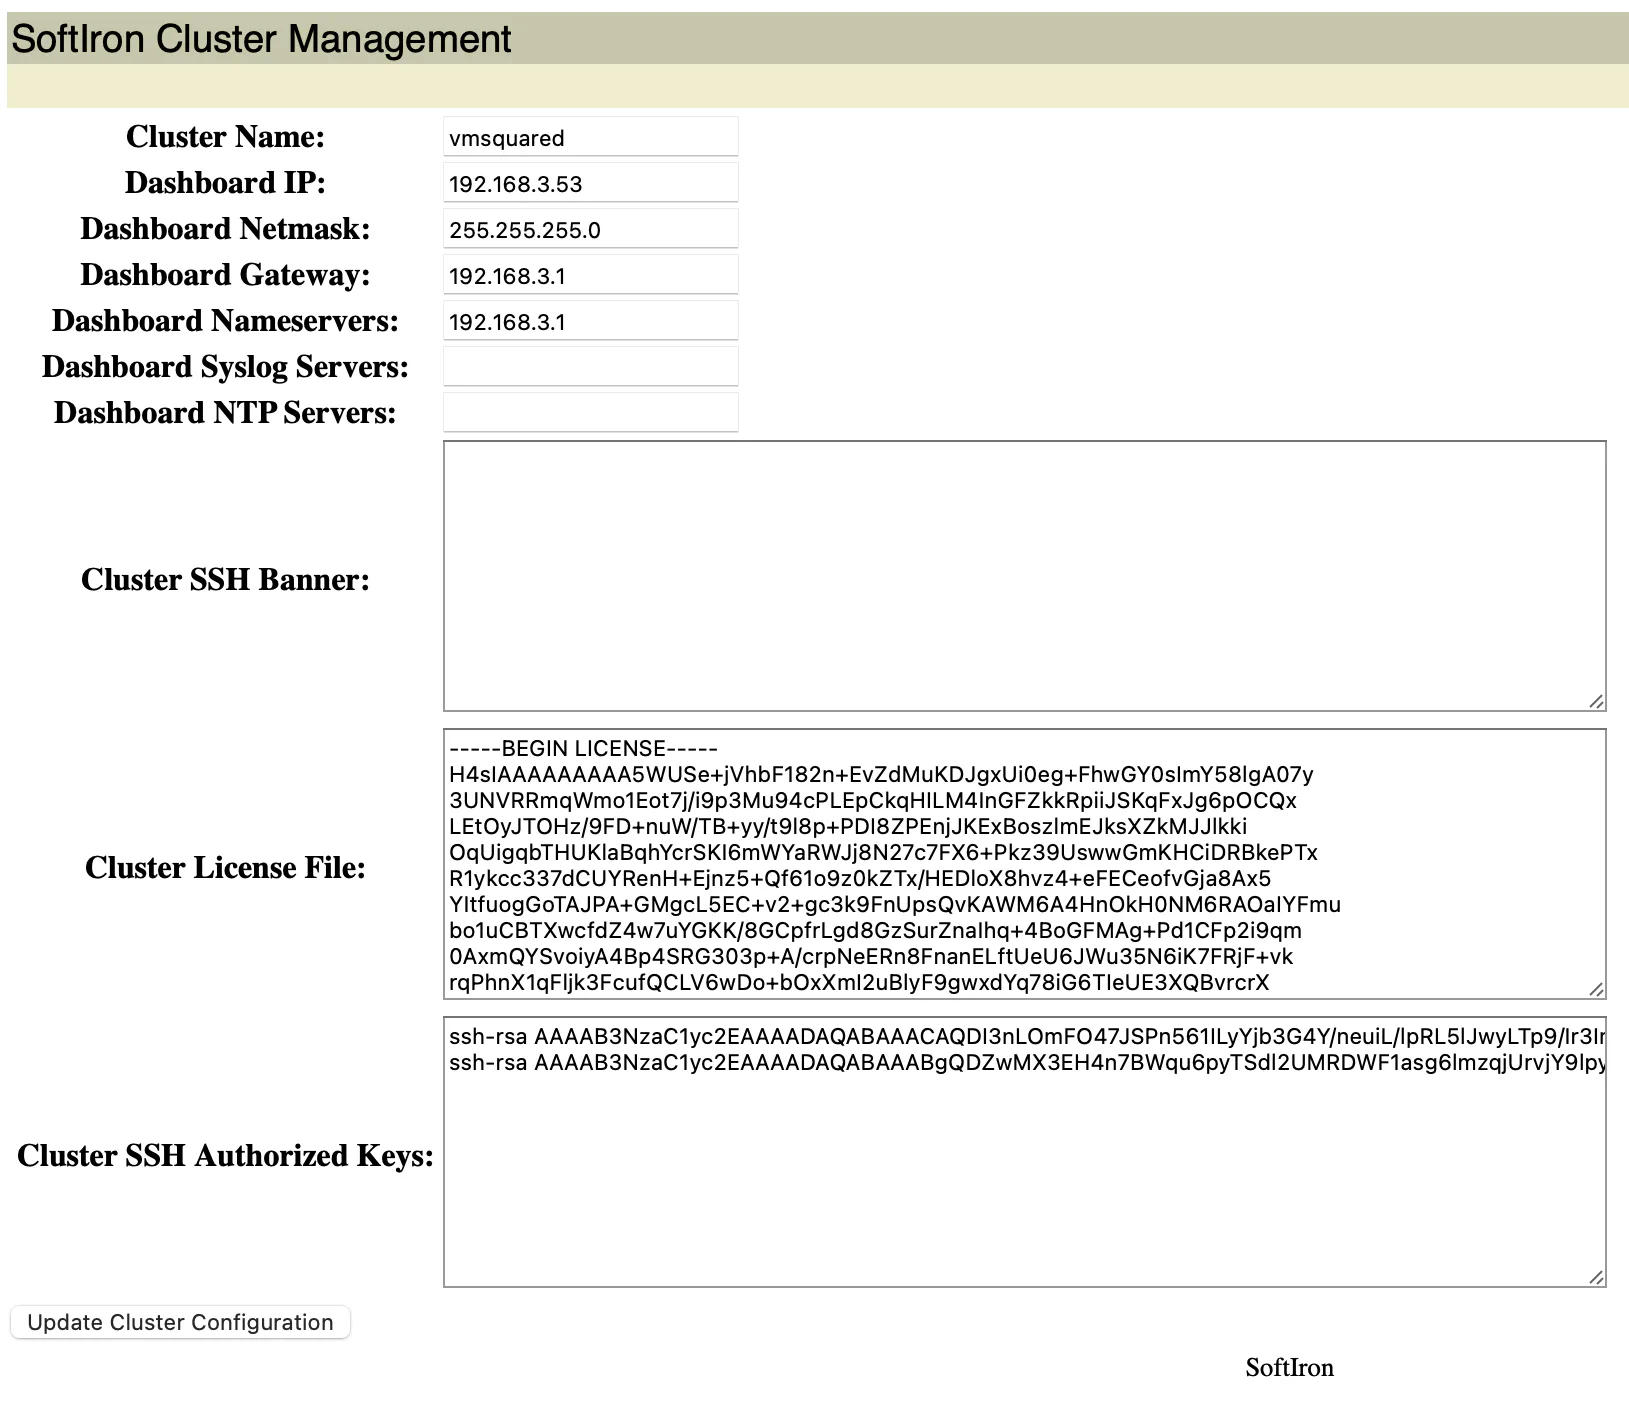
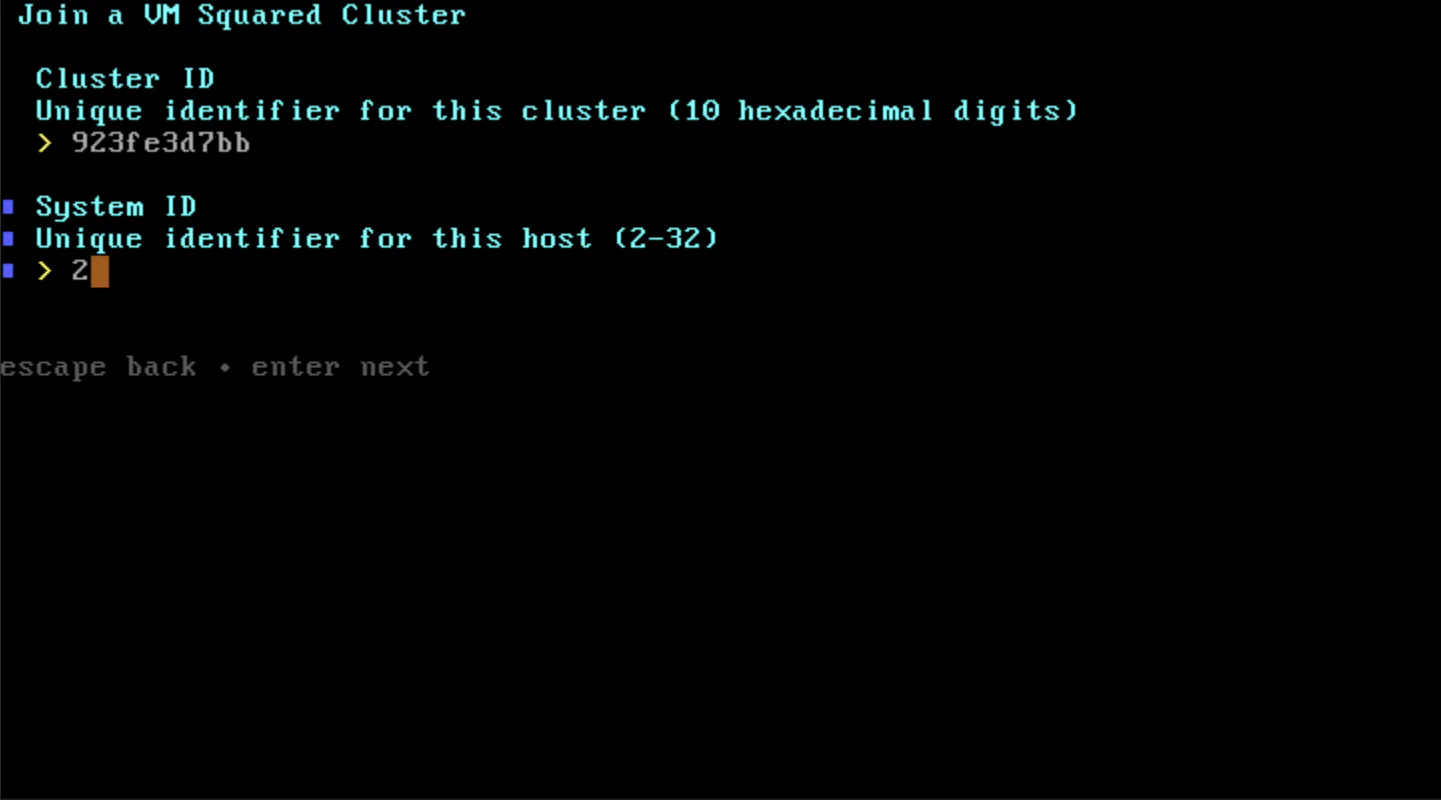
The conversion of an unsupported single-node deployment to a supported multi-node cluster is an irreversible operation and cannot be undone.
The minimum supported multi-node cluster is three (3). A two-node cluster is unsupported, except in the case where transitioning from a single node to a cluster.

Warning
All the disks listed will be erased as part of the installation process. All data will be destroyed. This action is irreversible.
The remainder of the setup is the same from step 7 and onward of the first node install.
Node(s) 3+ can be created identical to Node 2.
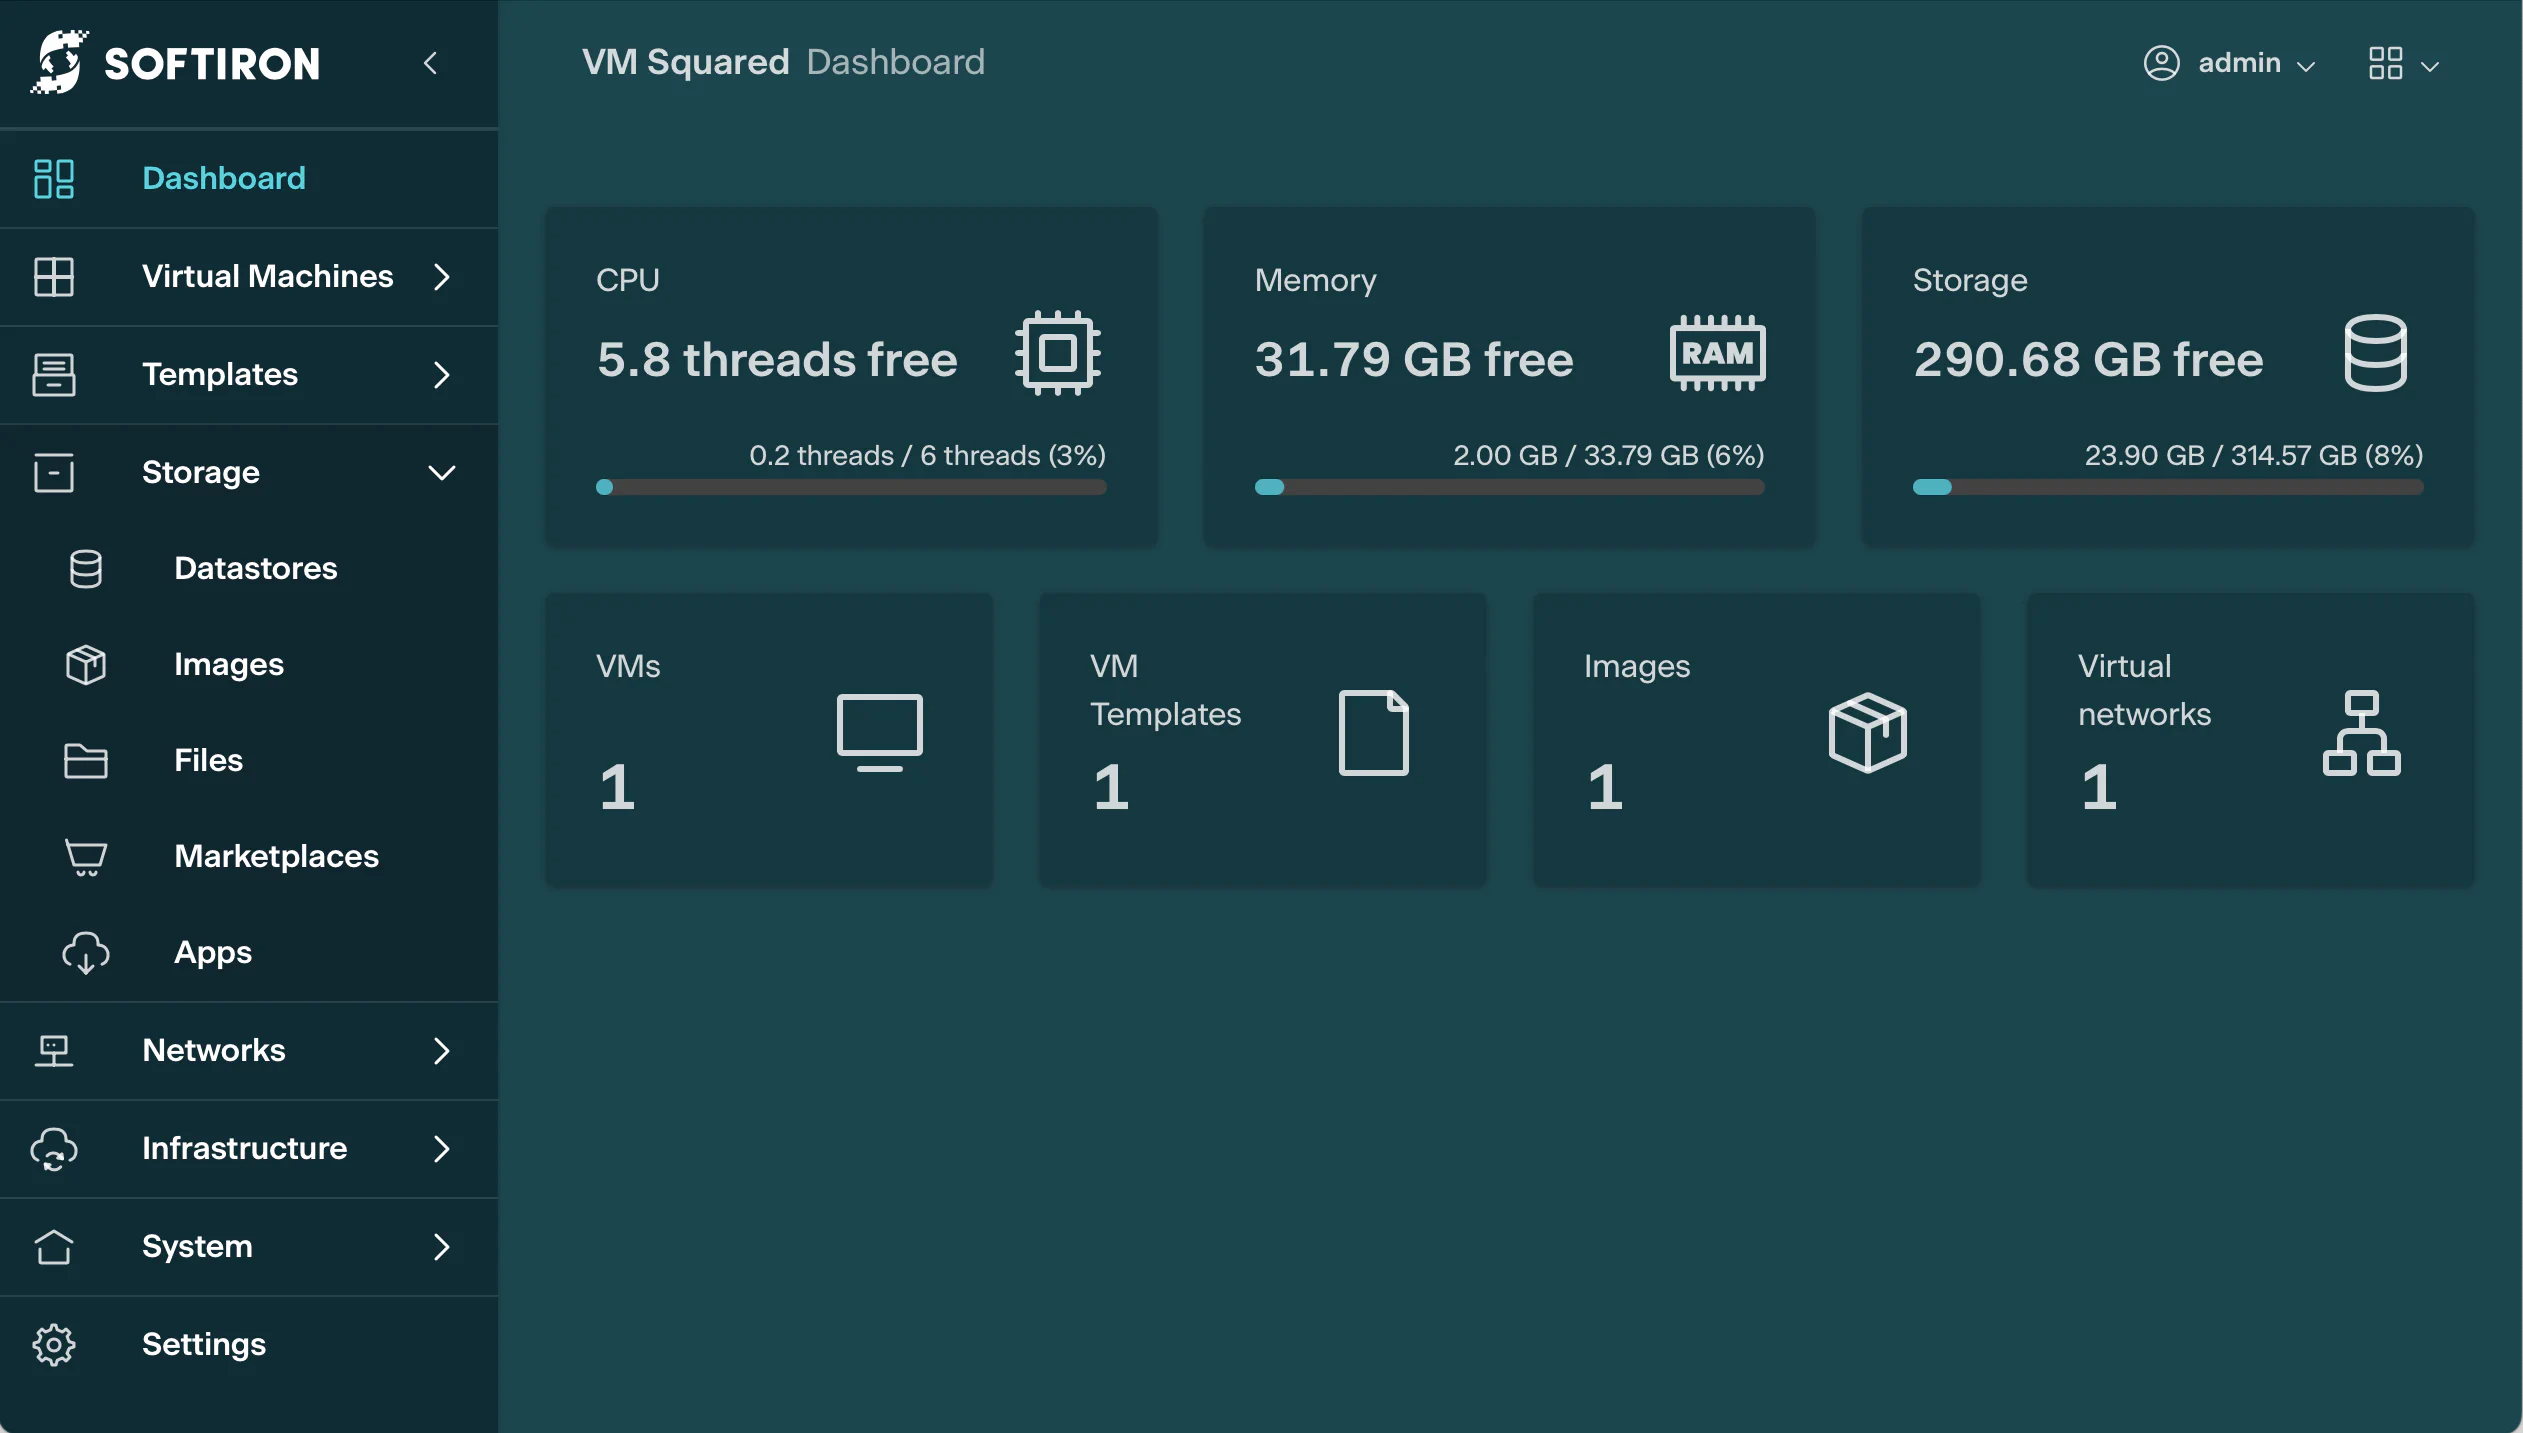
Glasshouse is a user interface focused on streamlining administration and monitoring tasks.
Once the VM Squared dashboard is present and fully booted you can login to the Glasshouse, the management GUI.
The <dashboard IP> and cluster admin password specified during the dashboard configuration are required to access the Cloud Management GUI.
Open a new browser tab and navigate to:
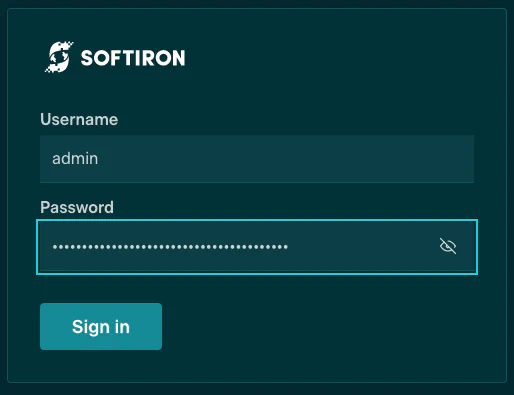
https://<dashboard IP>/Enter the admin credentials into the respective fields.
By avoiding clutter and UI complexity, Glasshouse minimizes the time and skills required to manage your virtualization solution.
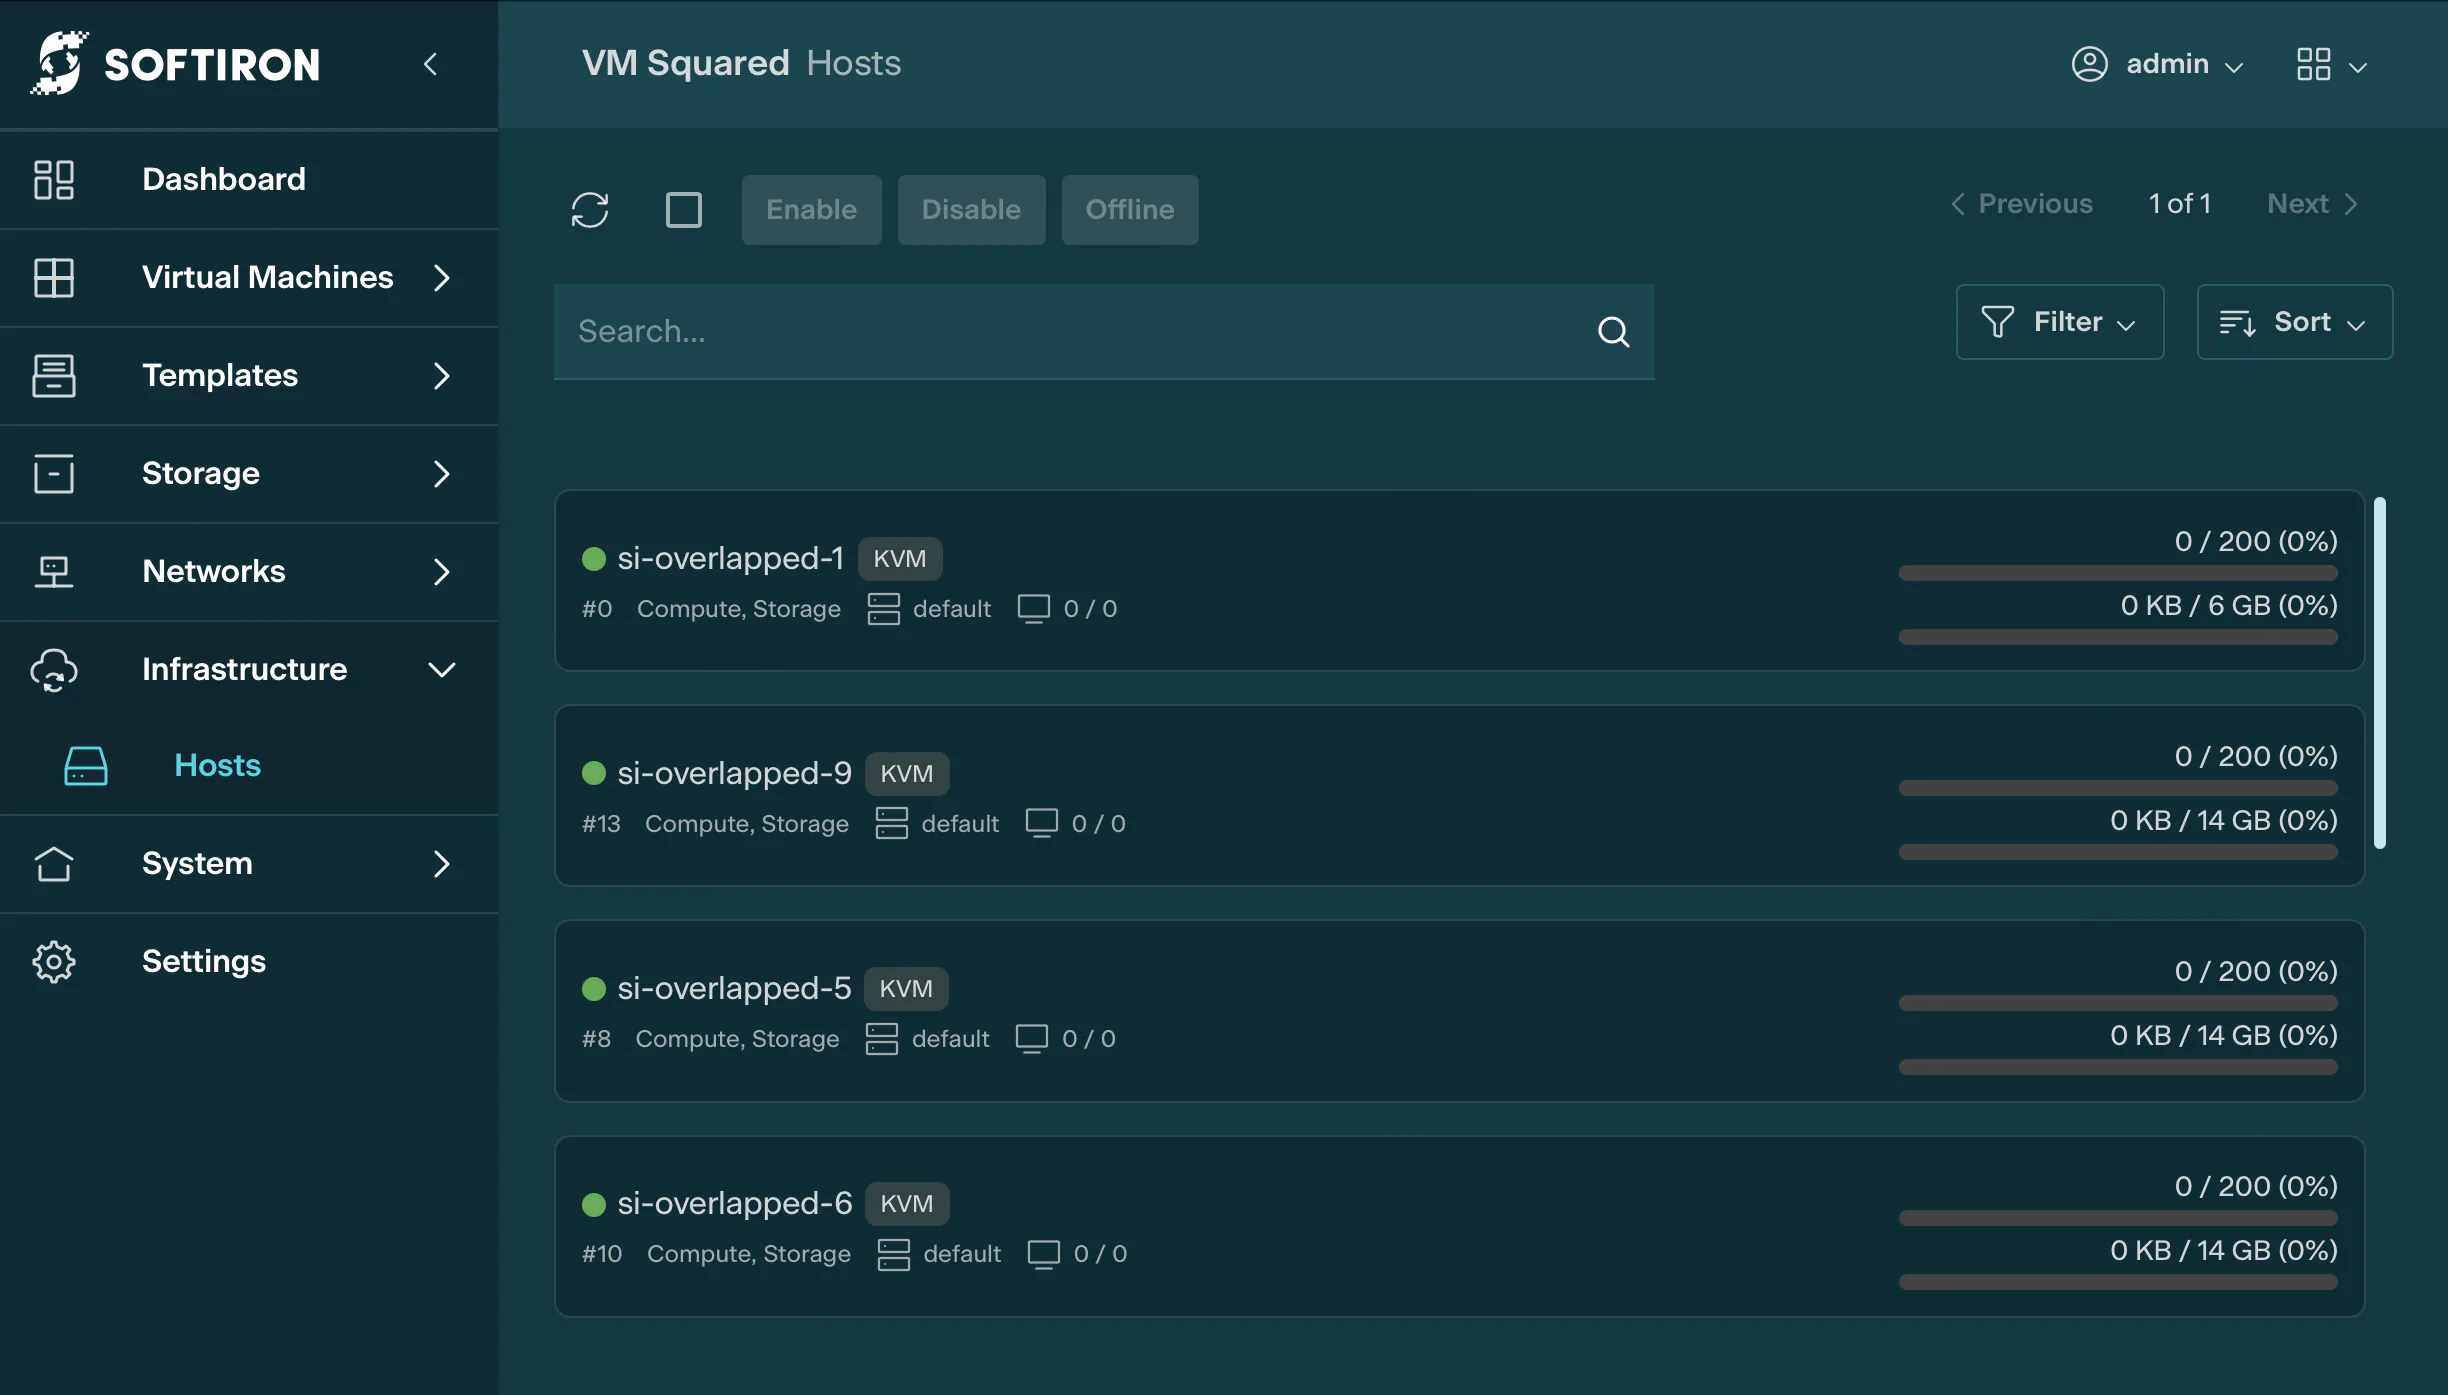
Select Infrastructure -> Hosts to see all the nodes in the cluster.
The dashboard console is an alternate way to manage the VM Squared cluster. Details for logging into the dashboard console can be found here.
A single node cluster will lack resilience and be in an unreplicated state, unsuitable for production workloads.
Supported configurations of VM Squared require at least three nodes.
When adding the third storage-capable node, data will be replicated amongst all nodes to provide fault-tolerance. Replication speed depends on disk and network performance and the volume of data involved.
If you have created VMs on the system or begun migrating VMs to the VM Squared nodes before three nodes were installed the volume of data will be larger.
To check the status of storage on the VM Squared cluster by connecting to the dashboard console and using the storage status command. When replication is completed, all entries on the pgs: line will transition to active+clean.
VMsquared:cluster\dashboard> storage status
  cluster:
    id:     83f3fa01-5ef5-4b25-a0ca-3c397507e9c8
    health: HEALTH_OK

  services:
    mon: 1 daemons, quorum si-overlapped-1 (age 2d)
    mgr: si-overlapped-1(active, since 2d)
    mds: 1/1 daemons up
    osd: 1 osds: 1 up (since 2d), 1 in (since 2w)

  data:
    volumes: 1/1 healthy
    pools:   11 pools, 593 pgs
    objects: 3.63k objects, 12 GiB
    usage:   13 GiB used, 114 GiB / 127 GiB avail
    pgs:     593 active+clean

  io:
client: 64 KiB/s rd, 10 KiB/s wr, 78 op/s rd, 1 op/s wrExperience problems during install? Please check the following items:
All NICs should either:
Full LACP must be used, if the switch does not send LACP PDUs then VM Squared cannot detect that LACP is in use.
OR
VM Squared’s TLB load balancing can be used with switches that do not support full LACP. Make sure that all switch ports are configured the same and outbound traffic will be balanced.
VM Squared will attempt to use all active NICs. Disconnect any NICs that are not being used.
Check the order of NIC preference listed in Installation Requirements and ensure that you have setup any bonding or multiple-NIC configuration as required.
Have you wiped data from your disk? VM Squared’s installer will avoid over-writing existing filesystems, so please wipe any filesystem signatures prior to install. The “wipefs” tool can be used.
For example:
wipefs -a /dev/sdaThe VM Squared installer requires a disk with at least 8GB free space to store its applications.
To store the VMs, you should have at least one (but preferably more) disks of 100GB+ size.
Hardware-based RAID can be used but as VM Squared provides its own replication and discovery of disk failures, we recommend passing through all disks using HBA mode without a RAID volume.
Next steps
Now VM Squared is installed you can: